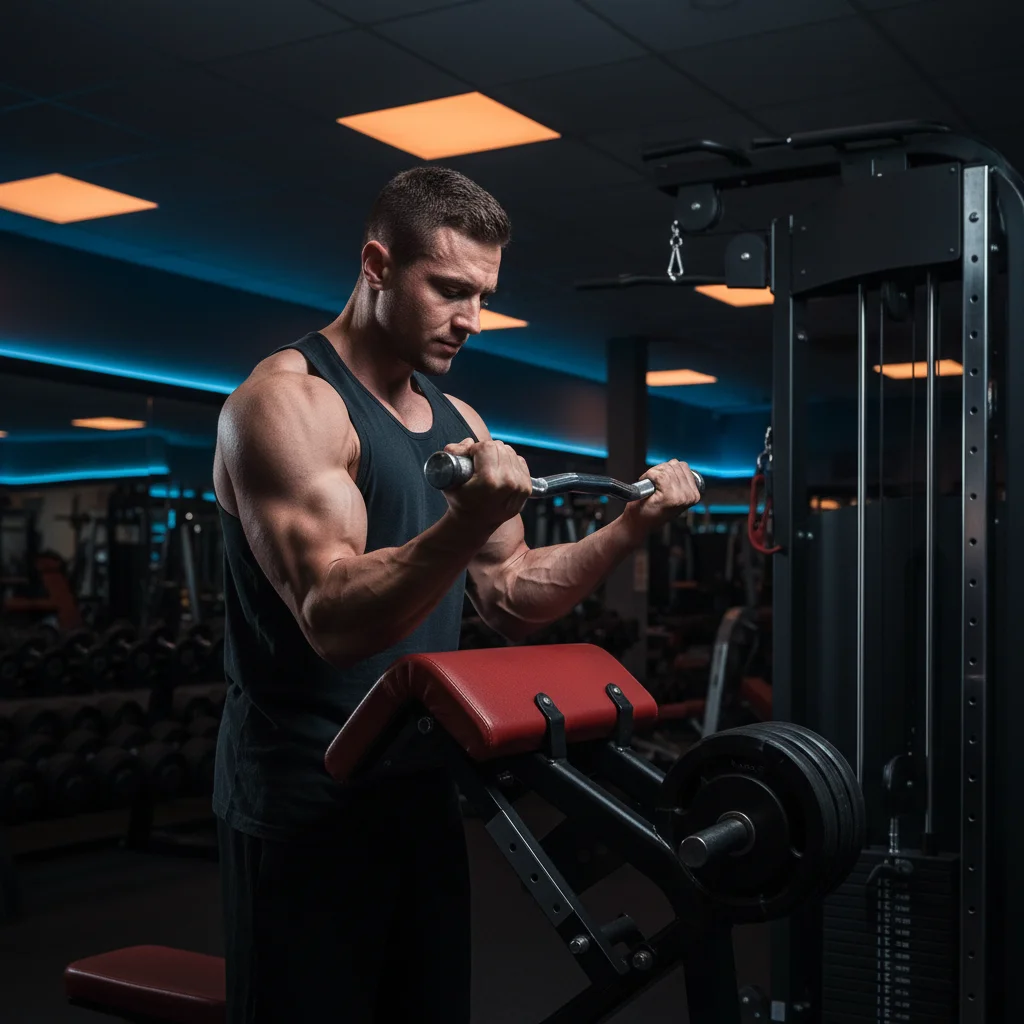
The barbell preacher curl takes the already-effective preacher curl machine concept and adds the raw feel of free weights. The angled pad locks your upper arms in place while the barbell allows for heavier loading and a natural bar path that some lifters prefer over the fixed arc of a machine.
If you're chasing bicep width and short head development, this is one of the most direct paths there.
Why the Preacher Position Targets the Short Head
When your arms are positioned in front of your body on the preacher pad, the long head of the biceps is placed in a shortened position. A shortened muscle can't generate as much force, so the short head picks up the slack and becomes the primary mover.
The short head is the inner portion of the biceps — the one that contributes to arm width when viewed from the front. If you want your arms to look thick in a T-shirt, short head development is what you're after, and preacher curls deliver that better than almost any other exercise.
The pad also eliminates all momentum. Your upper arms are braced against a surface, so there's no swinging, no leaning, and no way to recruit your shoulders or back. Pure elbow flexion, pure bicep work.
How to Set Up Properly
Adjust the preacher bench so the top of the pad sits snugly in your armpits when you're standing behind it. Your upper arms should rest flat against the angled surface from armpit to elbow.
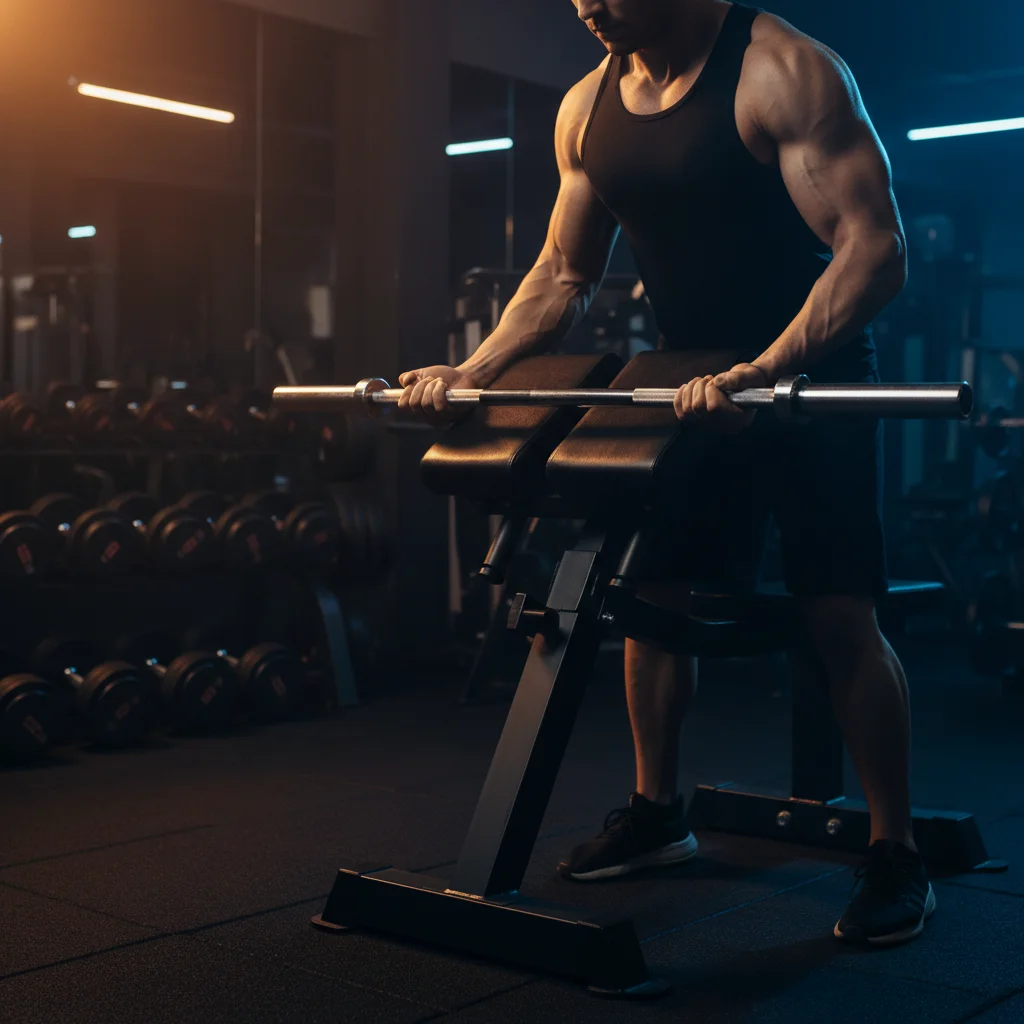
Grip the barbell (straight or EZ bar) with an underhand grip at shoulder width. Your arms should be extended but not hyperextended — maintain a very slight bend at the bottom to protect the elbow joint and bicep tendon.
Stand or sit behind the bench depending on the setup. If standing, keep your feet flat and your chest against the top of the pad. If using a seated preacher station, sit firmly with your back straight.
The Armpit Rule: If the pad is below your armpits, you'll tend to lean over it and use your shoulders. If it's too high, your elbows won't sit properly. Armpit height is the sweet spot — adjust the seat or your stance until the pad catches right at the armpit crease.
Performing the Movement
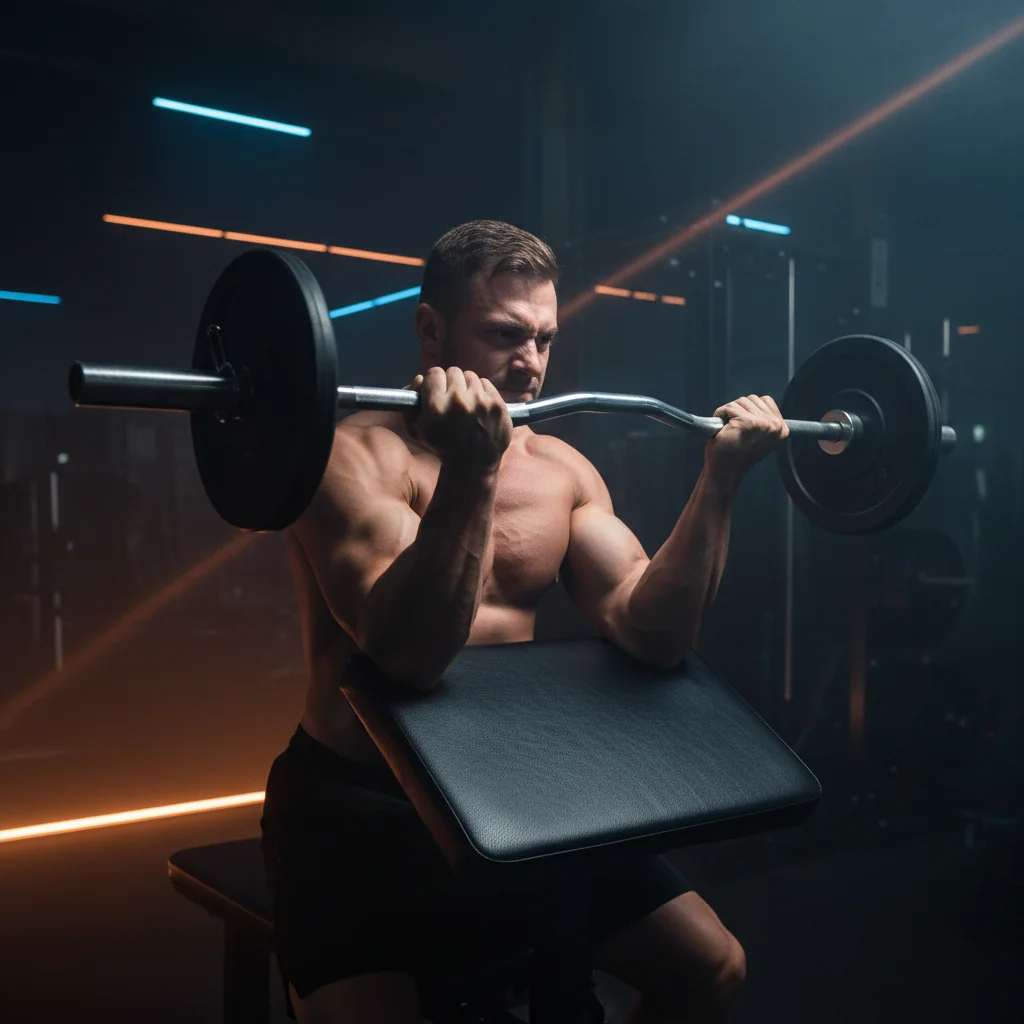
From the slightly-bent starting position, curl the barbell upward by contracting your biceps. Your upper arms stay pressed against the pad throughout — they shouldn't lift off at any point.
Curl until your forearms are nearly vertical. Don't bring the bar all the way to your chin — once your forearms pass vertical, tension on the biceps actually decreases. Stop just before that point where you feel the tension start to drop off.
Lower the bar under control. This is where the preacher curl demands respect — the stretched position at the bottom is where the bicep tendon is most vulnerable. Take 3 seconds to lower and don't bounce out of the bottom. Come to a controlled stop with arms nearly (not fully) straight, then initiate the next rep.
Straight Bar vs EZ Bar on the Preacher
The straight barbell forces complete supination, which slightly increases short head activation. However, the locked wrist position on a preacher bench combined with a straight bar can create significant wrist strain because you can't adjust your grip angle.
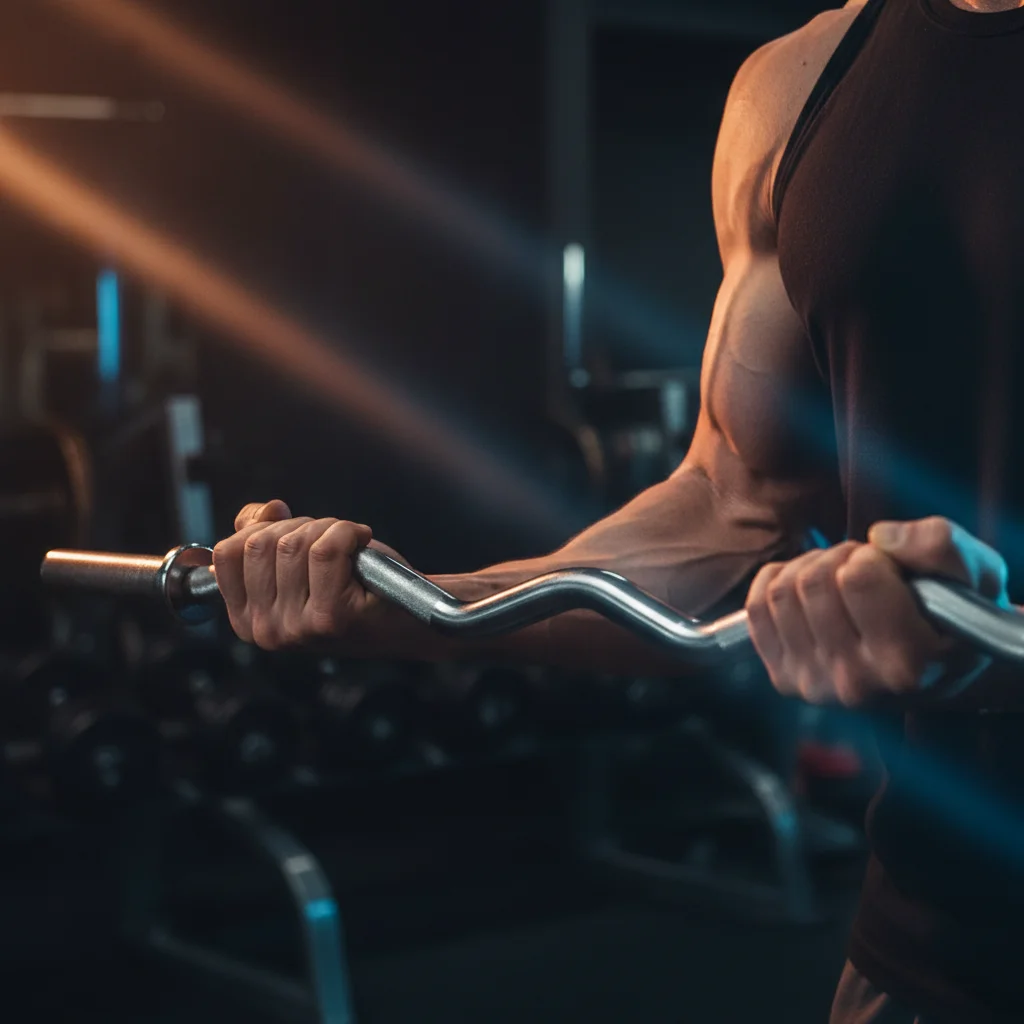
The EZ bar is the more common choice for preacher curls. The angled grips reduce wrist stress substantially while only marginally reducing bicep activation. For most people, the EZ bar is the better practical choice — you'll be able to train with more volume and fewer joint issues over time.
If your wrists handle the straight bar fine, use it. If there's any discomfort, switch to the EZ bar immediately. Wrist pain is not something to train through on curls.
Critical Safety Note: The Bottom Position
The preacher curl places enormous stress on the distal bicep tendon at full extension. Bicep tendon tears on preacher curls, while not common, do happen — almost always because the lifter used too much weight and let the bar drop to a fully locked-out position at the bottom.
Protect yourself: always maintain a slight elbow bend at the bottom (about 10-15 degrees), never bounce out of the bottom, and don't use weight you can't control through the entire range of motion. If you feel a sharp pain in the crook of your elbow, stop immediately.
Programming
Barbell preacher curls work well as a primary or secondary exercise. Three sets of 8-12 reps is ideal. They pair well with hammer curls, which target the brachialis and long head — the muscles that preacher curls underemphasize.
Because of the tendon stress at the bottom of the movement, limit preacher curls to 1-2 sessions per week. Your elbows need recovery time between sessions, especially if you're using meaningful weight.
A proven combination: barbell preacher curls (3x8-10) followed by incline dumbbell curls (3x10-12). The preacher targets the short head, the incline targets the long head — complete bicep coverage in two exercises.
What We Recommend
CAP Barbell Olympic EZ Curl Bar
An EZ bar is the most common choice for preacher curls — the angled grip protects your wrists in the vulnerable stretched position at the bottom.
The Bottom Line
The barbell preacher curl is one of the most focused bicep exercises you can do. The locked-arm position eliminates cheating, the angle preferentially targets the short head, and the free weight barbell allows for natural loading progression. Respect the bottom position, control every rep, and your bicep width will respond.