The standing dumbbell bicep curl is usually the first exercise anyone learns in the gym, and it's usually done wrong from day one. Bad habits formed with light weights become ingrained patterns that limit progress when the weights get heavier.
This guide breaks down every aspect of proper standing curl form — the details that separate productive reps from wasted ones.
The Correct Starting Position
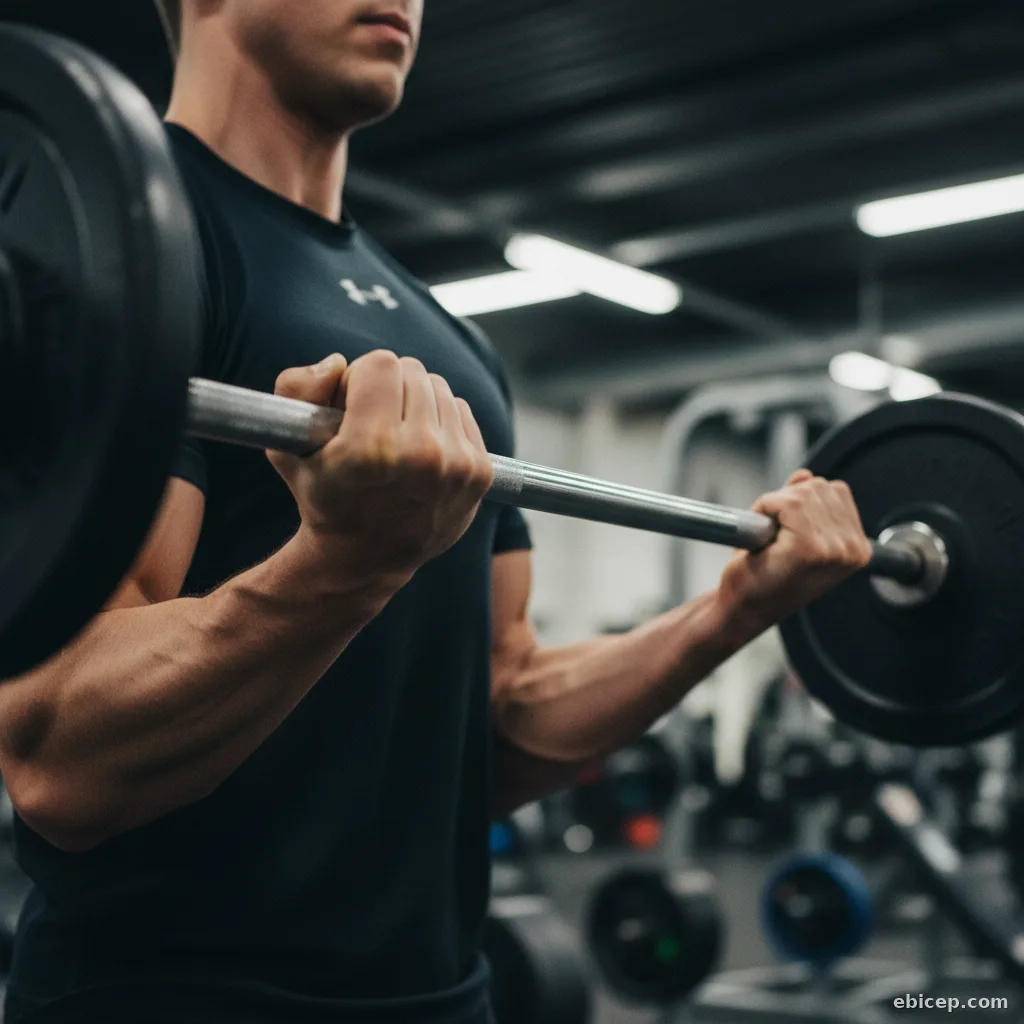
Stand with feet shoulder-width apart, knees slightly soft (not locked). Hold a dumbbell in each hand with your arms fully extended at your sides. Your palms should face forward or slightly toward your thighs — you'll supinate fully during the curl.
Roll your shoulders back and down. This retracts your shoulder blades and prevents your front deltoids from taking over the movement. Think "proud chest" — if your shoulders are rounded forward, your delts are pre-positioned to help, which steals work from your biceps.
Brace your core lightly. You don't need to flex your abs as hard as during a squat, but a moderate brace prevents your torso from swaying. Your spine should stay neutral throughout every rep.
The Curl: Phase by Phase
Initiation: Begin the curl by contracting your biceps. The movement starts at the elbow — not the shoulder. If your shoulder moves first, you're using your deltoid to initiate, which is one of the most common mistakes.
Mid-range: As the dumbbell rises, actively supinate your wrist — turn your palm from facing your body to facing the ceiling. This supination under load is one of the primary functions of the biceps brachii and significantly increases muscle activation compared to keeping your palm in a fixed position.
Peak contraction: At the top of the curl, your forearm should be nearly vertical with your palm facing the ceiling (or slightly toward your shoulder). Squeeze the bicep hard for a full second. You should feel the muscle bunch up and harden under your skin.
Lowering: Lower the dumbbell under control — 2 to 3 seconds — while gradually de-supinating your wrist. Don't just drop it. The eccentric phase is where significant muscle damage (the productive kind) occurs. Wasting it by dropping the weight is throwing away half your gains.
The Mirror Check: Watch yourself from the side, not the front. From the front, curls always look fine. From the side, you can see if your elbows are drifting forward, your torso is swaying, or your shoulders are helping. The side view reveals the truth.
Elbow Position: The Most Debated Detail
You'll hear "keep your elbows pinned to your sides" everywhere. That's mostly correct, but here's the nuance: your elbows should stay at your sides through roughly 80% of the range of motion. In the final 20% — as you approach peak contraction — a slight forward drift (1-2 inches) is natural and actually increases the bicep squeeze at the top.
What you don't want is elbows moving forward from the start of the rep. If your elbows shift forward as soon as you begin curling, you're turning it into a front raise hybrid. The movement should be primarily elbow flexion with only minimal shoulder flexion at the very end.
The Five Most Common Mistakes
1. Body swing. Leaning back and thrusting the hips to start the curl. Fix: stand against a wall or use lighter weight until you can curl without any torso movement.
2. Too fast. Cranking out reps as fast as possible. Fix: use a 2-1-2 tempo — 2 seconds up, 1 second squeeze, 2 seconds down. This doubles your time under tension with the same weight.
3. No supination. Curling straight up with a fixed palm position. Fix: start with palms neutral or slightly forward, and actively rotate to palms-up as you curl.
4. Short range of motion. Starting with bent elbows or stopping before full contraction. Fix: fully extend at the bottom (without hyperextending), fully contract at the top.
5. Different arms, different effort. The dominant arm does more work while the non-dominant arm cheats. Fix: use alternating curls and give each arm equal focus. If one arm fails before the other, that arm is your limiting factor — match the weaker arm's rep count on both sides.
Sets, Reps, and Weight
For muscle growth: 3-4 sets of 8-12 reps. Choose a weight where the last 2 reps of each set are genuinely challenging but don't require form breakdown to complete.
For endurance and pump: 2-3 sets of 15-20 reps with lighter weight. This creates metabolic stress and is a good finisher after heavier work.
Standing dumbbell curls work well at any point in your arm workout. As an opener, they warm up the biceps for heavier barbell work. As a second exercise, they provide unilateral focus after bilateral barbell curls. As a finisher, lighter sets with slow tempo create a strong pump.
The Bottom Line
The standing dumbbell curl is simple, but simple doesn't mean easy to do well. Supinate actively, control the eccentric, keep your elbows honest, and use weight you can actually manage with strict form. If you've been curling the same weight for months without growth, the problem almost certainly isn't the exercise — it's the execution. Fix your form before adding weight, and you'll start growing again.